


How to apply colour gel: a step-by-step guide
The Journal · Nail Tutorial
Applying your gel coloured
A glossy, long-lasting manicure, done at home. Base coat, colour, top coat and LED lamp: here’s the complete step-by-step guide to applying your 1944 Paris Vegan Gel.
View the steps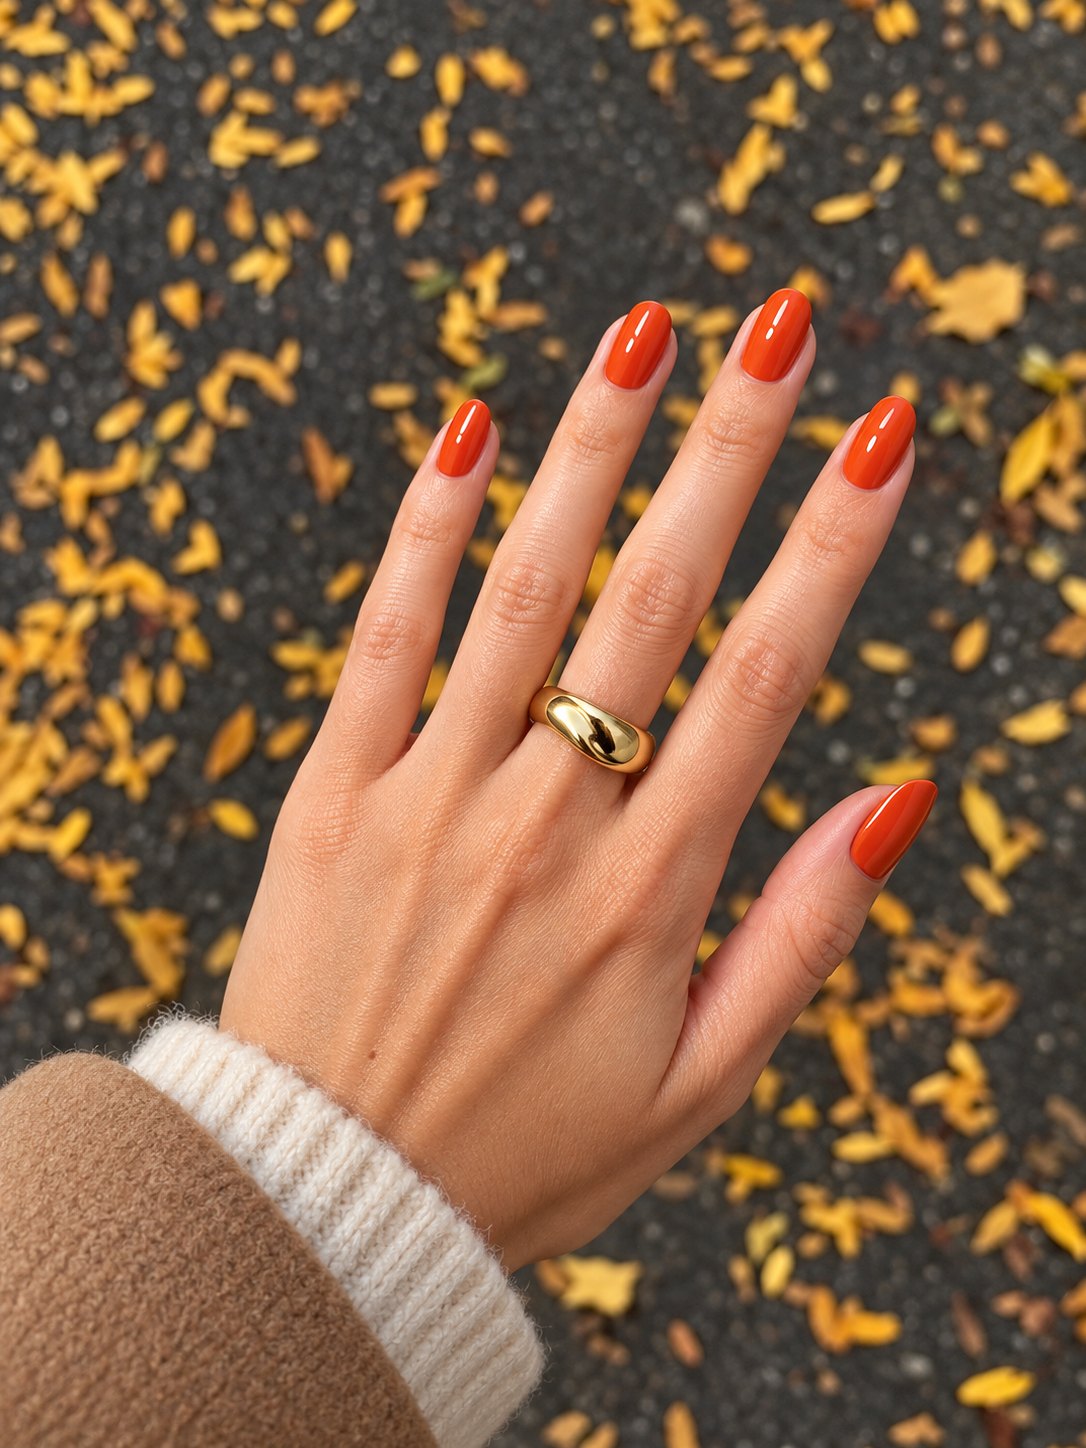
01 · The principle
A spa-like experience, in the comfort of your own home.
Coloured gel is applied just like nail varnish, but it cures under an LED lamp. The result is a high-gloss finish that doesn’t chip and lasts much longer than traditional nail varnish.
The 1944 Paris Vegan Gel is formulated free from HEMA and Di-HEMA. To achieve a successful result, it all comes down to three things: careful preparation, very thin layers and curing under the lamp after each step.
Prepare
A clean, dry and slightly matt nail: this is the key to good adhesion and long-lasting wear.
Put an end to
Base coat, colour, then top coat – always apply in thin layers. Two thin layers are better than one thick layer.
Catalyse
Each layer is cured under the LED lamp. It is the lamp that cures the gel and gives it its hold.
02 · Equipment
Four essentials.
A base coat, a colour, a top coat for shine and an LED lamp to cure the polish. With these four essentials, applying the polish is simple and the result is professional.
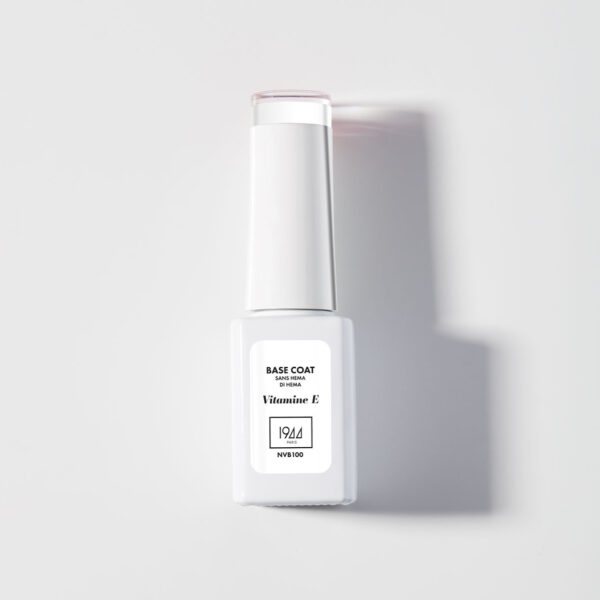
Vitamin E Base Coat
The first coat: this prepares the nail and ensures that the coloured gel adheres properly.
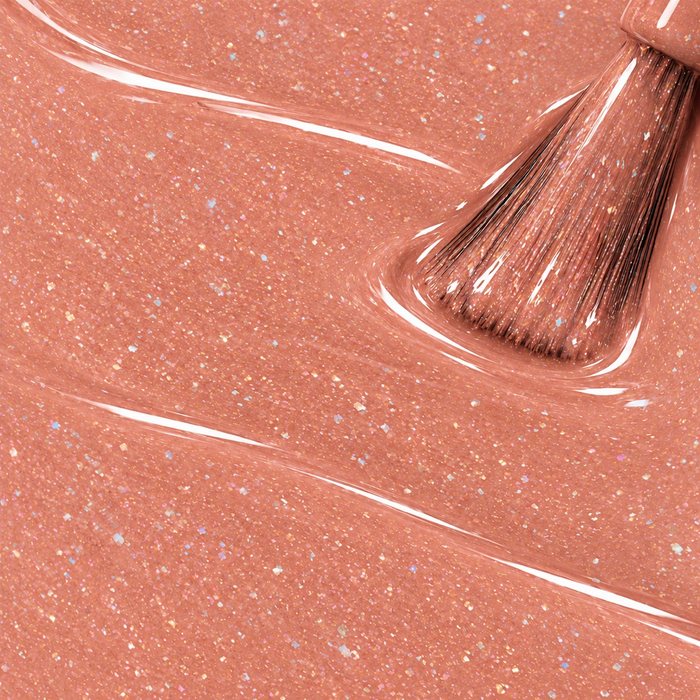
Vegan Gel
Apply two thin coats of colour. Free from HEMA and Di-HEMA, for a glossy finish.
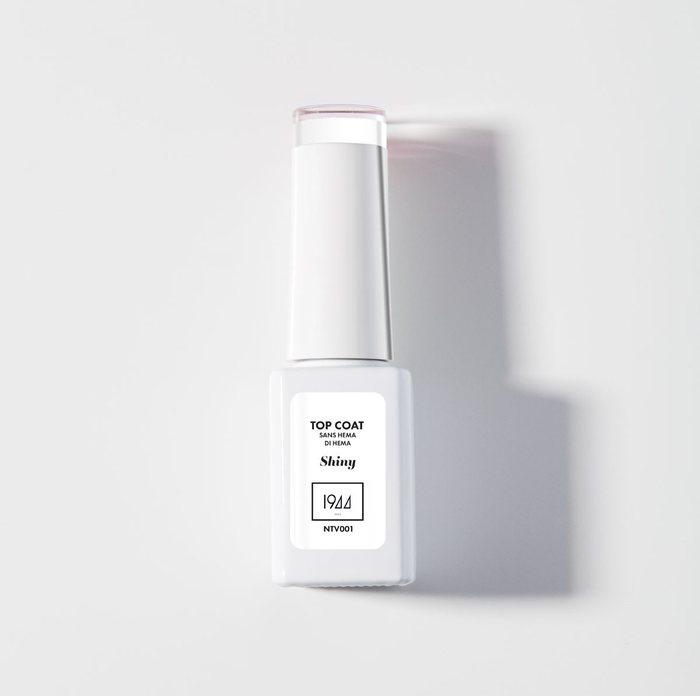
Shiny Top Coat
The finish: it seals in the colour and creates a glossy, mirror-like effect.
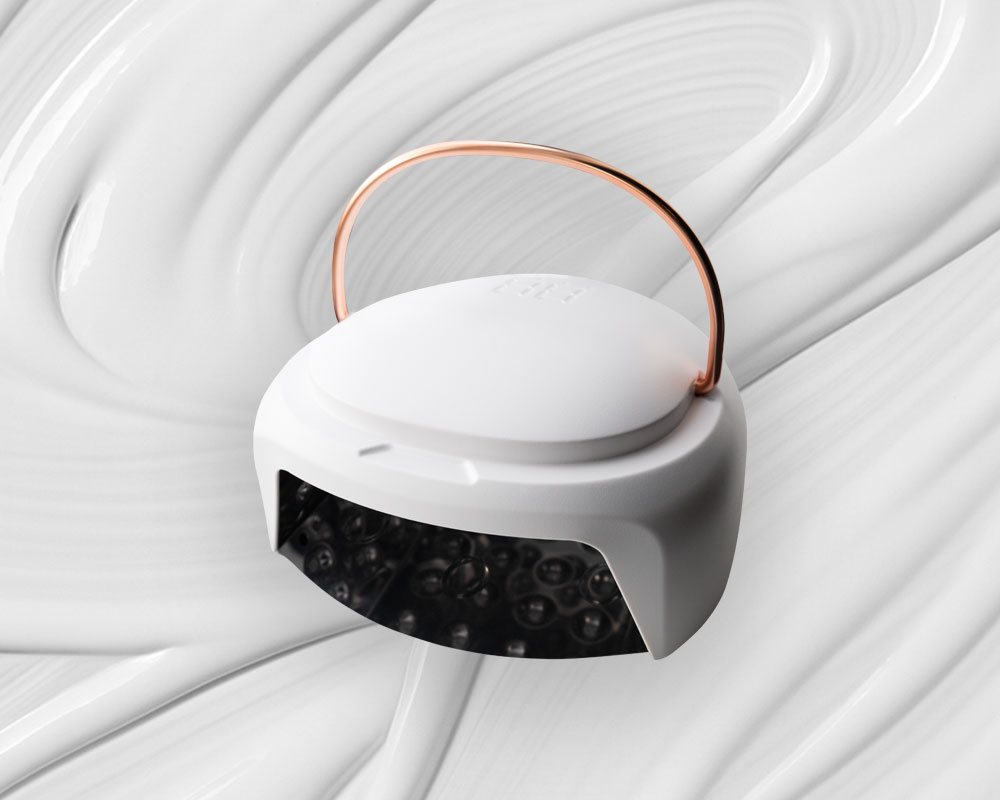
Deep Cure 60W LED lamp
It acts as a catalyst for each coat to set the gel and ensure it stays in place.
03 · The LED lamp
The key to a perfect outfit.
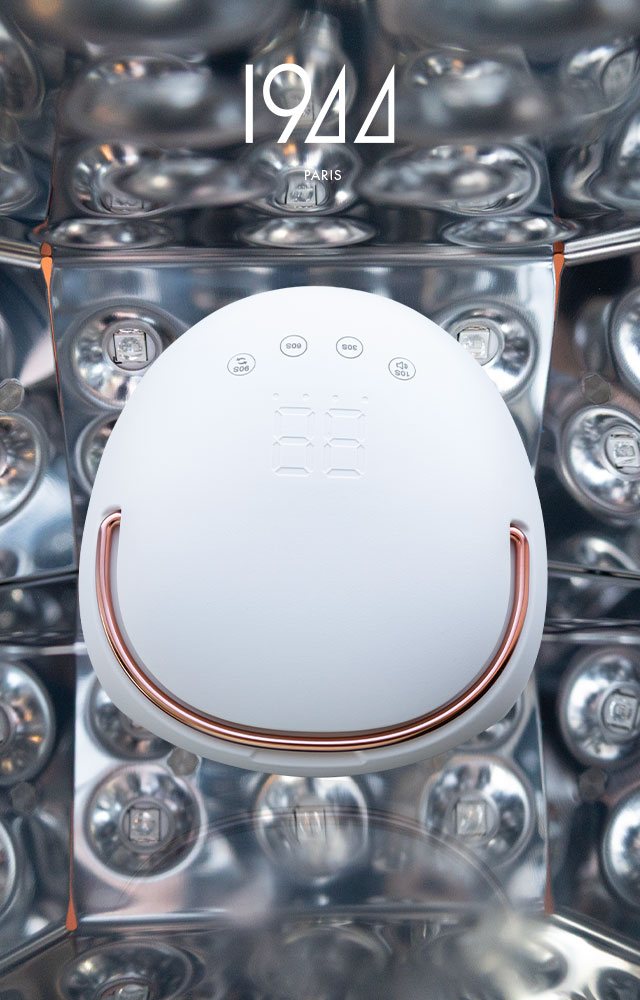
Without the lamp, the gel won’t set. It is the lamp that transforms the colour into a strong, glossy manicure.
The Deep Cure 60W LED lamp has been designed to ensure even curing across all fingers, including the thumb. Its mirrored interior diffuses the light evenly, and its built-in timer allows you to select the appropriate time for each stage.
04 · The Right Move
How do you apply coloured gel?
Six steps for a neat finish and long-lasting hold.
Preparing the nail
File and shape the nail, push back the cuticles, then gently buff the surface. Carefully remove any dust and degrease the nail with a cleanser.
Laying the foundations
Apply a thin layer of Vitamin E Base Coat, taking care not to touch the skin, then hold your fingers under the LED lamp.
LED lamp · 60 sFirst coat of colour
Apply a very thin layer of Vegan Gel, working from the centre outwards, leaving a small gap near the cuticles.
LED lamp · 60 sSecond coat
Apply a second thin coat for intense, even colour. Remember to brush over the free edge of the nail.
LED lamp · 60 sSeal with a top coat
Finish with the Shiny Top Coat, making sure to cover the free edge as well, to seal in the colour and create a mirror-like finish.
LED lamp · 60 sFinalise
If a thin, sticky film remains, remove it with a cotton pad soaked in cleanser. Then moisturise your cuticles.
05 · Watch the move
A video showing the installation.
Base coat, colour, top coat and curing under the lamp: follow each step in the pictures to recreate the look easily at home.
The secret to a successful application? Thin layers, applied without spilling over the edges, and the patience to allow each one to set.
I’m getting kitted out
07 · Good habits
For long-lasting wear.
Thin layers
If the coat is too thick, it won’t set properly and may crease. It’s better to apply two thin, even coats.
Do not spill over
The gel must not come into contact with the skin or cuticles: if any spills occur, wipe them off before curing under the lamp.
Seal the free edge
Run the brush along the edge of the nail with each coat. This prevents the polish from lifting at the tips.
08 · All-in-one
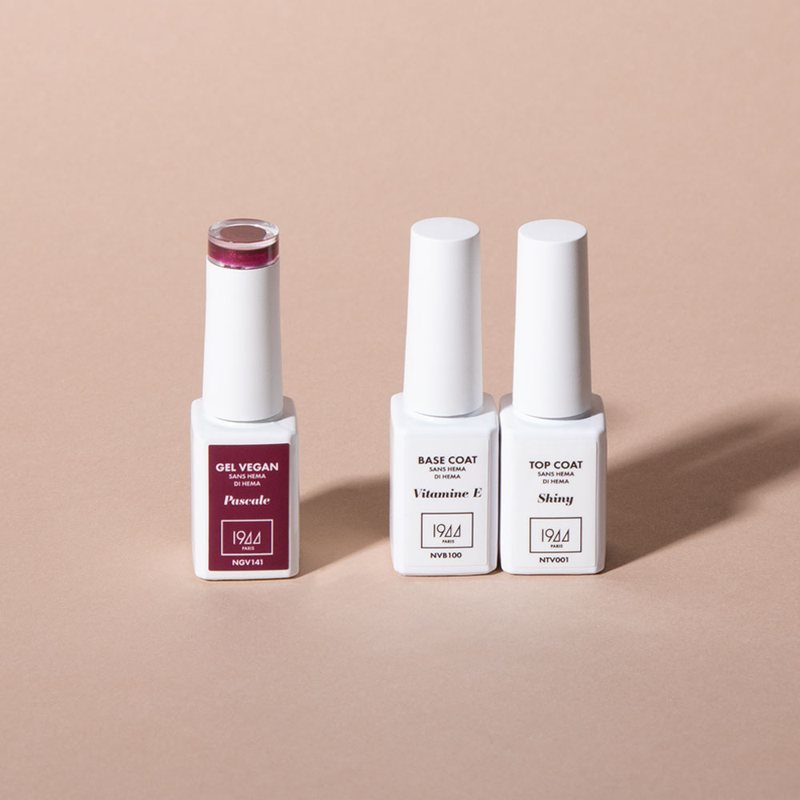
The 3 Timeless Classics: the box set to get you off to a good start.
A Vegan Gel colour of your choice, the Vitamin E Base Coat and the Shiny Top Coat: everything you need to make a success of your first manicure. All you need to do is add the LED lamp.
35,71 €32,15 €
09 · FAQs
Everything you need to know about applying coloured gel.
How do you apply coloured gel to your nails?
Prepare the nail (file, push back the cuticles, mattify, degrease), apply a thin layer of base coat and then cure under a LED lamp. Next, apply two thin layers of coloured gel, curing each one, and finish with a top coat, which is also cured.
How long should I leave it under the LED lamp?
As a general guide, allow 60 seconds per coat when using the 60W Deep Cure LED lamp. The time may vary depending on the product: always refer to the instructions provided with each product.
Can you apply gel without a lamp?
No, the gel needs the light from the LED lamp to cure. If you’d prefer a lamp-free manicure, Vernis Vegan 1944 Paris is the ideal alternative.
How many coats of paint should be applied?
Two thin coats are usually sufficient to achieve a rich, even colour. For lighter or translucent shades, a third thin coat may be applied.
Why use a base coat and a top coat?
The base coat ensures the colour adheres to the nail, whilst the top coat protects it and gives it its shine. Together, they are essential for long-lasting wear.
Why is my gel peeling off?
The most common causes are inadequate preparation (oily or un-mattified nails), layers that are too thick, gel coming into contact with the skin, or an unsealed free edge. Go through each step again, taking care to address these issues.
The 1944 Diary
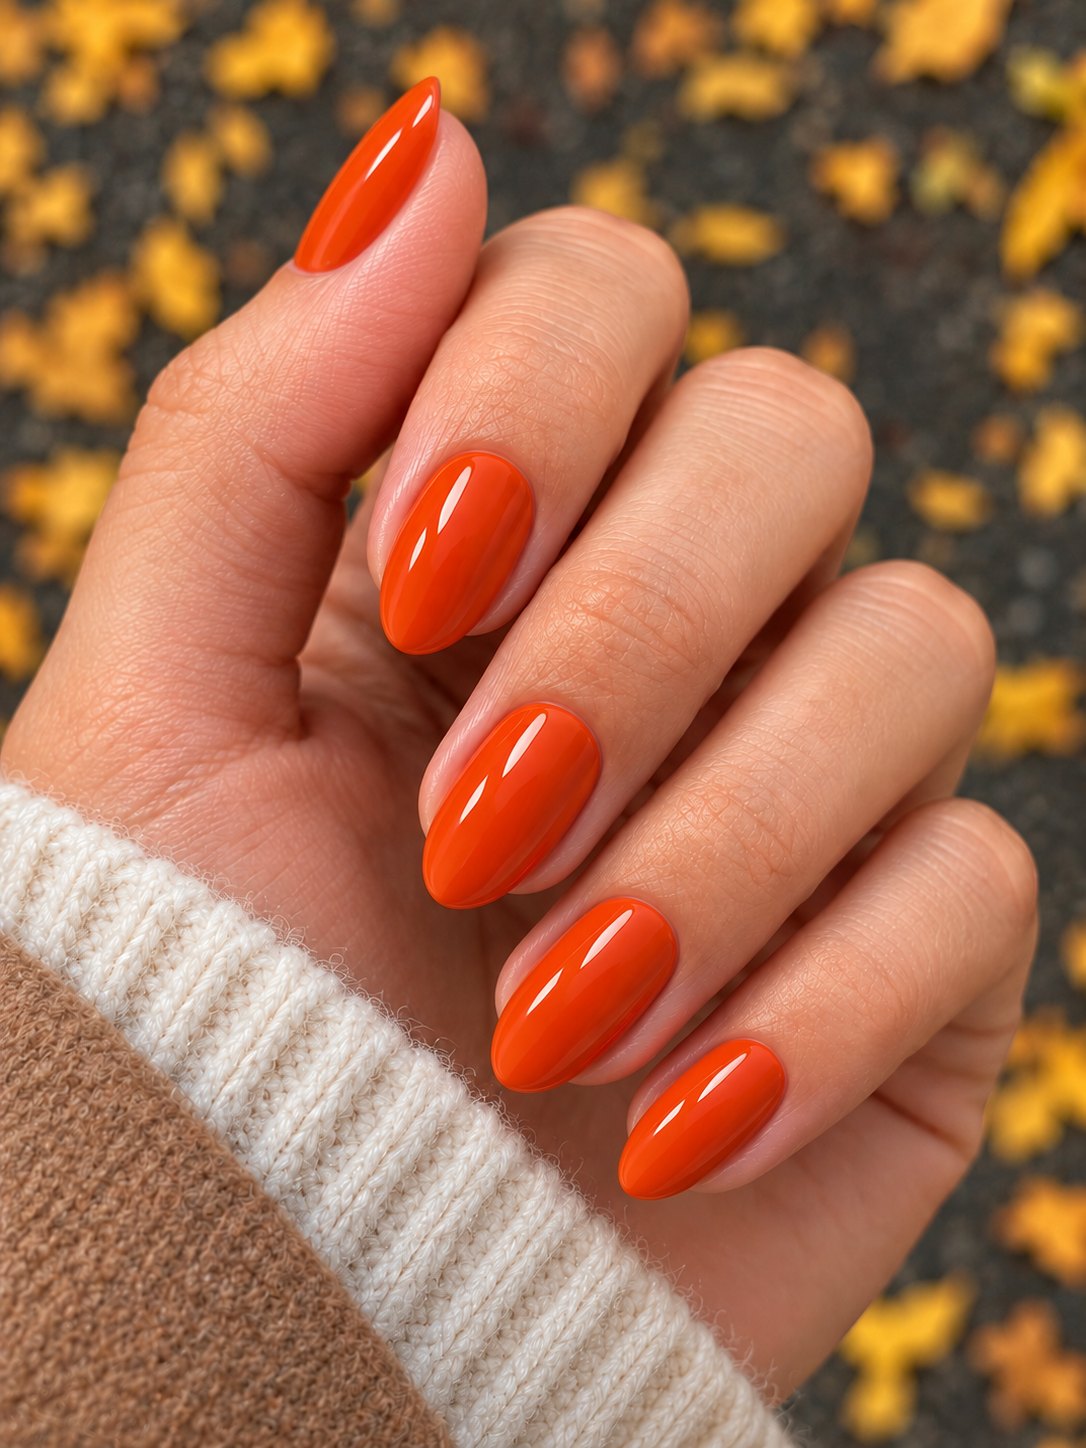
Autumn colours, right down to your fingertips.
Léonie, Ambre, Nine or Suzanne: choose your ‘Indian Summer’ shade and do your own gel manicure at home.
Find my shade
