The 1944 Paris Newspaper · Nails
The newspaper · Nail guide

Base coat and top coat: what are they for? Really?

A glossy manicure that lasts and doesn’t yellow is achieved in three coats. Here’s what each coat does, the order in which to apply them, and how to choose them – whether you’re using nail varnish or gel.
Reading 5 mins  ·  Level beginner  ·  Without HEMA or Di-HEMA
Hand with a milky white gel manicure on a plain grey background
01 · The principle

The duo that keeps your manicure looking fresh.

The base coat is applied before the colour, and the top coat afterwards. Without a base coat, the pigment doesn’t adhere as well and may stain the nail. Without a top coat, the colour remains matt and chips more quickly.
Prepare
The base coat creates a smooth surface and helps the colour adhere.
Colour
Two thin layers are enough.
Seal
The top coat protects the colour and gives it its shine.
3 · Top coat · shine, protection, seal
2 · Colour · 2 thin coats
1 · Base coat · grips, smooths, protects
Natural nail
Schematic diagram, with exaggerated thicknesses
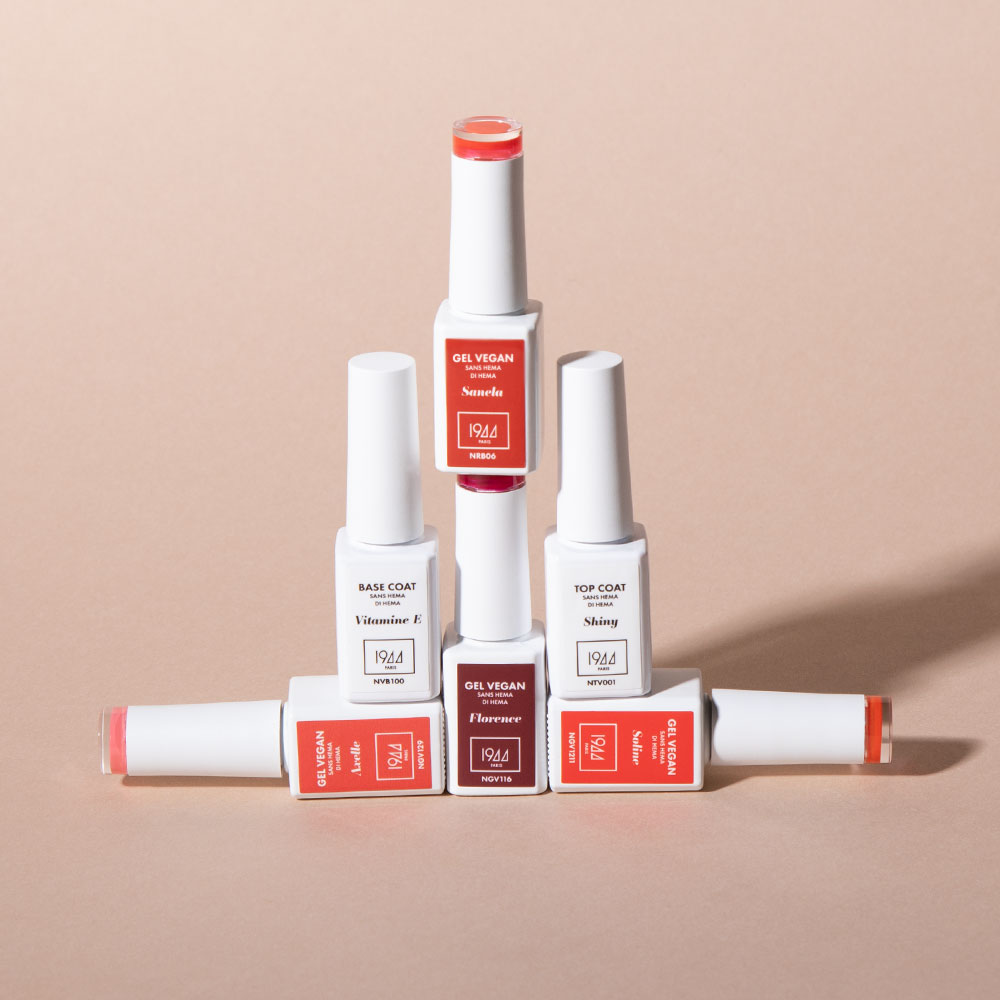
Vitamin E Base Coat 1944 Paris
02 · The base coat

Base coat: what is it? The foundation of the technique.

A base coat is a clear layer applied to the bare nail before the colour. Our Vitamin E Base Coat complements the gels in the range.

  1. It helps the colour to adhere. Nail varnish or gel adheres better, so it lasts longer.
  2. She smooths the nail. A more even finish from the very first coat.
  3. It protects. Fewer stains and less yellowing, particularly with dark colours.
Shiny Top Coat 1944 Paris
03 · The top coat

Top coat: what is it? The finishing touch for a glossy finish.

The top coat is the final layer, applied over the colour. Discover our Shiny Top Coat, mirror effect.

  1. It adds shine. It is this that creates the mirror finish.
  2. It protects the colour. Fewer chips and scratches in everyday use.
  3. It seals the free edge. The nail edge is the first area to become damaged.
04 · Nail varnish or gel

The role is the same, but the drying process is not.

Whether you’re using nail varnish or gel, the order remains the same: base coat, colour, top coat. The difference lies in how each coat is cured.
 
Classic varnish
Gel
Order
Base coat, colour, top coat
Hardening
Air-drying
LED lamp after each coat
Lamp life
None
60 seconds per layer (60 W lamp)
Products
Base and top coats for nail varnish
Gel base and top coats – never mix them with nail varnish
Without a lamp, the gel won’t set. The ranges do not mix.
05 · The right move

Six steps to a successful installation.

The same method applies to gel and nail varnish. The sticker indicates that the gel has been cured under a lamp; for nail varnish, allow each coat to air-dry.
The result: Victoire Vegan Gel · View the colour →
Step 2
Vitamin E Base Coat
Step 5
Shiny Top Coat
01

Preparing the nail

Push back the cuticles, gently buff the surface, then clean the nail: it must be dry and free from any traces of oil.
Without a lamp
02

Apply the base coat

A thin layer, without touching the skin or the edges. Vitamin E Base Coat →
LED lamp · 60 s
03

First coat of colour

Thin, from the centre towards the edges.
LED lamp · 60 s
04

Second coat

It evens out the colour. If it is too thick, it won’t set properly and may crease.
LED lamp · 60 s
05

Seal with a top coat

Cover the entire nail, including the free edge. Shiny Top Coat →
LED lamp · 60 s
06

Finalise

Trim the edges if necessary and moisturise the cuticles.
Without a lamp
The result

A manicure that shines and lasts.

Base coat, two coats of colour, top coat: the same process for all shades, from nude to deep burgundy.
A hand with milky nude nails against a plain grey background
Milky nude
A hand with deep green nails against a plain grey background
Deep green
Éleonore Vegan Gel Bottle in burgundy
Éleonore, deep burgundy
Fake nails from the Chocolat collection on a caramel-coloured base
Chocolate Collection
More results

Every shade, every coat.

The same technique – base, colour and top coat – for every skin tone and every colour in the range.
Gel manicure, Anastasia shade (NGV105)
Anastasia · NGV105
Gel manicure, Mathilde shade (NGV104)
Mathilde · NGV104
Gel manicure, Amandine shade (NGV1230)
Amandine · NGV1230
Gel manicure, Kalys shade (NGV1237)
Kalys · NGV1237
Gel manicure, Victoire shade (NGV166)
Victory · NGV166
Gel manicure, Zoe shade (NGV173)
Zoe · NGV173
Gel manicure, Flora shade (NGV171)
Flora · NGV171
Gel manicure, Margaux shade (NGV165)
Margaux · NGV165
Gel manicure, shade Ivy (NGV1219)
Ivy · NGV1219
Gel manicure, shade Pauline (NGV160)
Pauline · NGV160
Gel manicure, shade Eglantine (NGV285)
Eglantine · NGV285
Gel manicure, Joy shade (NGV247)
Joy · NGV247
06 · Good habits

For long-lasting wear.

Three habits that matter more than the choice of product.

Thin layers

A thick coat dries poorly, creases and chips more quickly. Two thin coats are better than a single thick one, whether it’s the base coat or the top coat.

Do not spill over

Leave a small gap between the product and your skin. A base coat or top coat that touches the cuticle will lift first.

Seal the free edge

Brush the top coat onto the edge of the nail: this is the area most exposed to knocks.
The colours of autumn

Indian Summer: eight seasonal shades.

Once you’ve applied the base, choose your shade. The technique is the same for all eight.
The eight gels from the Indian Summer collection, lined up
Léonie gel texture applied with a brush
Léonie
Sidonie gel texture applied with a brush
Sidonie
Philippine gel texture applied with a brush
Philippine
Amber gel texture applied with a brush
Amber
Eugénie gel texture applied with a brush
Eugénie
Clotilde gel texture applied with a brush
Clotilde
Nine gel texture applied with a brush
Nine
Suzanne gel texture applied with a brush
Suzanne
07 · The 1944 products

The essentials for getting off to a good start.

Base coat, top coat, lamp: each product corresponds to a step in the process.
Step 2

Vitamin E Base Coat

Helps the colour last and protects the nail. Free from HEMA and Di-HEMA.
11,90 €
Step 5

Shiny Top Coat

The finish: it seals in the colour and creates a mirror-like effect.
11,90 €
Step 5: optional

Holographic Powder Top Coat

A holographic effect over the colour, without altering it.
17,98 €
After each coat

Deep Cure 60W LED lamp

Cures each layer of gel evenly.
179,88 €
To get started

The 6 Sublimes – The Complete Collection

Four coloured gels, a base coat and a top coat, all in one set.
64,26 €
08 · All-in-one

The 3 Timeless Classics: the box set to get you off to a good start.

Everything you need to get started with gel, all in one set.
1944 Paris Gel, Base Coat and Top Coat Set
Frequently Asked Questions

Everything you need to know about base coats and top coats.

The questions we’re asked most often, with a short answer.

A clear coat applied to the bare nail before the colour. It helps the colour adhere, smooths the nail and minimises staining.

It seals in the colour, adds shine and protects the manicure from chips and scratches.

Apply the base coat first, onto the bare nail. Then two thin coats of colour. Finish with the top coat.

Yes, but the colour doesn’t last as long and can stain the nail, especially with dark shades.

The colour remains matt and chips more quickly. The top coat gives it a glossy finish and helps it last longer.

No. The gel cures under an LED lamp, whilst the nail varnish evaporates in the air. Use products from the same range as your colour.

60 seconds per layer using the 60 W LED lamp: base coat, each colour layer, then top coat.

A coat that is too thick, product in contact with the skin, an unsealed free edge, or no base coat with a highly pigmented colour.

Your first delivery is free

Create your account: free delivery on your first orderre order, no minimum purchase required.

For new customers only, delivery within France. Excludes business customers.